Thursday, 5 April 2012

Maybelline 'The Falsies' Volum' Express Black Drama Review


Without Mascara.

As I have said before, I am a mascara junkie, So I'm always buying new mascaras on the market that have been really hyped up, and they're always a let down so I always find myself buying this one again. This is my absolute favourite mascara! It creates the right amount of volume and length without becoming clumpy and really holds the curl in my lashes after I have curled them. This mascara has long fibres in it that really helps to create the 'dramatic', voluminous look of this mascara. 

The formula is quite wet which some people may not like, but I personally like it because it gives me time to shape my lashes with the brush without my lashes getting clumpy from going over and over them. The brush is 'spoon' shaped and this really helps to fan the lashes out. 


With Mascara.

I hope this helped and don't forget to follow! :)


Parlor Smoke Eye Shadow Quad Swatches and Review


I purchased this eye shadow quad the other day from The Cosmetics Company Outlet, and fell in love with the colours in this palette, so thought I'd do some swatches and a little review :)

You can see a Make Up Tutorial I did with this palette here. 


Swatched without any primer.


Parlor Smoke is a pale shimmery purple-grey colour, although it's wearable because I don't feel it looks too shimmery on the eye. I would say this eye shadow is the least pigmented in the quad and you do have to build it up to get the right colour. 


Cross Cultural is a warm, medium-brown colour with a matte finish. I feel the colour is similar to Buck by Urban Decay, but Cross Cultural is slightly more pigmented. This is a very wearable colour.


Indigo Noir is a deep purpley-navy colour with a matte finish. It has great pigmentation and although it is purple-navy, I do feel that it is wearable on a daily basis.


This is my favourite colour from the palette. In the pan it looks like a shimmery gunmetal colour like, well, Gunmetal from Urban Decay. But once swatched, this is a lovely dark grey colour that is nicely pigmented, and very wearable. 

Have a nice day, and don't forget to follow! :D


Wednesday, 4 April 2012

Subtle Indigo Make Up Tutorial


I created this look using my MAC Parlour Smoke Eyeshadow Quad, but you can re-create this look just using similar colours.You can see swatches here.

For The Face
Foundation: Nars Sheer Glow Foundation in Siberia
Concealer: Benefit IT Stick
Blush: Mac Powder Blush in Empire

For The Eyes

Step 1: Prime your eyes. I used Mac Paint Pot in 'Painterly'

Step 2: I applied Parlour Smoke (light, shimmery purple) all over my lid and blended it up into my crease.


Step 3: I applied Steel (dark grey), into my crease and down at the outer of my eye in a sideways 'V' shape.


Step 4: Using a fluffy angled brush, I applied Indigo Noir along my bottom lash line and continued the line upwards on the outer corner to create a winged effect.


Step 5: I applied an almost-black shadow right along the upper lash line.


Step 6: I lined my upper water line with a black eye-liner, and my lower lash line with a skin coloured pencil (or concealer stick), to open up the eyes.


Step 7: I used Shroom by MAC on a fluffy blush and blended this along my brow bone.


Step 8: I filled in my eyebrows using Cross Cultural, and ran through them with MAC's Brow Set.


For The Lips
I mixed two shades of lipstick to create this colour (both of which are now discontinued), but any sort of pinky/coral colour would go with this look. 


I hope you enjoyed this, feel free to ask any questions and don't forget to follow! :)


Monday, 2 April 2012

March Favourites 2012


This months favourites are..
♥ Johnson's Daily Essentials Facial Wipes
♥Mac Mineral Skin Finish Natural in Medium
♥ Nailtiques Protein Formula 2
♥ Maybelline The Falsies Black Drama Mascara 
♥ Crown Brushes BK27 Flat Bronzer Brush

..and a lil' review on each of them :)


Mac MSF Natural and Crown BK27 Bronzer Brush Review

This past week or so the weather has been really warm, so I didn't feel like wearing heavy foundation so I just wore the MSF and buffed it in using the BK27 brush. It creates a flawless finish and it super easy to blend into your skin. I do have to re-apply throughout the day, but it takes next to no effort so I don't really mind.

~


Nailtiques Protein Formula 2
This product is the Holy Grail for my nails as I have them painted every single day, so I use this as a base coat underneath my polish just to strengthen my nails and stop them from yellowing. If I don't use this then my nails tend to split and chip. If my nails get into a really bad state then I just use this without polish for a few days, and apply it once a day. I get mine from here.


Maybelline The Falsies Black Drama Review
This is my all time favourite mascara! It creates the perfect amount of volume and length for my lashes. I will be doing a full review with pictures for this mascara, so stay tuned! 


Versace Crystal Noir Perfume
I have been wearing this perfume non-stop this month, it has a really deep, seductive scent and stays on your skin aaaaaaall day. 


Johnson's Daily Essentials Facial Wipes
These take my make up off so easy, and I really don't have to scrub at my eye make up, it just melts it right off. These wipes are very soft and they are very saturated which is great because I hate barely-damp make up wipes. 

I hope you liked this and don't forget to follow! :)

Sunday, 1 April 2012

Shellac Review


I thought I'd do a review on Shellac as I had this done a couple of weeks a go, and thought I'd share my opinion. As I like having my nails painted dark I went for the colour Fedora,which is a gorgeous dark purple colour. The treatment was really simple, and the Shellac goes on just as easily as nail varnish, the only difference is it has to be cured under a UV light. They have a really high shine that stays throughout the whole time I had the Shellac on. It stayed perfect for just under two weeks (it would probably stay longer if you are not as heavy handed as me).

 I had them taken off because as my nails grew the Shellac stayed where it was so there was a gap between my cuticle and the bottom of the polish. I then had the Shellac again, just in a different colour. The only down-point of Shellac (for me), is that I get a bit bored of having the same colour on my nails for two whole weeks as I like to change it up. 

I hope this helped and feel free to ask any questions! :)

Wednesday, 28 March 2012

Clinique Take The Day Off Cleansing Milk Review


This is a good product as far as taking your face make up off is concerned, I just wish that you could take your eye make up off with this too! And for the record, I did try this and ouchie, I will not be doing it again! It does say on the bottle not to go near your eyes with it, but I was never one to stick to the rules. This product literally just melts your make up away, but I do feel that even after rinsing it off, I still need to go over my face with a mild toner as it does leave a sort of residue even though its supposed to be a 'Residue-Free Formula'. Overall this is a nice, gentle product that doesn't irritate my skin and it does do what it says on the bottle, but I probably wouldn't repurchase this. 


I hope you found this helpful and feel free to ask any questions :)

Monday, 26 March 2012

Christian Louboutin Style Nail Tutorial


An easy nail tutorial to get designer nails!

Step 1: Prepare your nails. File them to desired shape, and rub over them with acetone/nail varnish remover to remove any excess oils on the nail bed, this will make the polish last longer.

Step 2: Apply base coat to your nails.

Step 3: Using a vibrant red nail colour, paint it to the underneath of your nail tip. It doesn't matter if it's messy you can just clean it up with some nail polish remover on a cotton bud/Q Tip.


Step 5: Apply two coats of black nail polish to your nail like you normally would.

Step 6: Apply a high shine top coat to your nails and VOILA! Gorgeous nails! :D

I hope you enjoyed this and free free to ask any questions!

Saturday, 24 March 2012

Purple Smokey Eye Make Up Tutorial


So, the weathers taken a turn for the better (I'm actually blogging from my garden!), so I thought I'd do a going out look perfect for Spring/Summer.  

For The Face
I applied Nars Sheer Glow foundation to my face using a MAC 190 brush, and applied Nars Orgasm blush to the apples of my cheeks using a MAC 187 brush. I then applied bronzer over the top of my cheekbones, and along my brow bone.

For The Eyes

Step 1: Prime your eyes.
Step 2: Apply a vibrant purple eye shadow ( I used Parfait Amour by MAC), all over the lid up to the crease.


Step 3: Using the same purple apply it all along the bottom  lash line.


Step 4: Using a deeper shade of purple, apply it to the very outer part of your eyelid and about half way along the crease. 


Step 5: With the same purple, take it along the outer of your lower lash line.


Step 6: With a matte black on a small, thin brush, take it along the upper lash line.


Step 7: Now take the matte black along the outer part of the lower lash line using the same brush.


Step 8: Apply an intense black liner to the upper and lower water line.


Step 9: Apply mascara, and brush through brows with a clear brow gel.


For The Lips
The eyes should be the main focus of this look so I just used a clear gloss.

I hope you liked this and feel free to ask any questions! :D

Friday, 23 March 2012

Vita Liberata 24ct Silken Shimmer: Tinted Wash Off Tan Review and Swatches


This is my favourite instant tan to use if I'm going out, as it dries almost instantly and gives you a really nice colour. Although it says it shimmery, the shimmer is not that apparent once the product has been blended in properly. This product has good staying power as well and won't stain your clothes once the product is completely dry. I purchase mine here. Below are some swatches and a bit more info on this stuff.


It really does look like melted chocolate when you're applying it to your skin! BUT it doesn't smell of chocolate, in fact it doesn't really have a scent. 


TIP- You HAVE to rub it in straight away as it really does tint your skin instantly. The big brown blob in the middle is where its been a few seconds too long, and the outer is where I have tried to blend it out.


If you've listened to the tip above then the result is a really nice subtle tan as you can see below :)


I hope this was helpful and feel free to ask any questions! :)

Tuesday, 20 March 2012

My Favourite Drugstore Facial Toners / Review


These three are my favourite facial toners all for different reasons, and I'll explain why...

 Nivea Visage Daily Essentials Refreshing Toner
This is the toner I use on a daily basis. Its really gentle and leaves your skin feeling clean and refreshed. I do find that this makes my skin feel and look a lot smoother and doesn't irritate my skin at all. It also has really mild, nice scent so doesn't make your eyes water if you take it too close!

               Price: £3.59, and you can get it here. 


 L'Oreal Paris Age Perfect Refreshing Toner
I use this toner when my skin is not at its best and needs something a little stronger than the Nivea toner. This has a really pleasant, fruity smell. I don't necessarily need the De-Aging part of this toner as I'm still young, but this is a nice all round toner.

           Price: £5.69, and you can get it here.


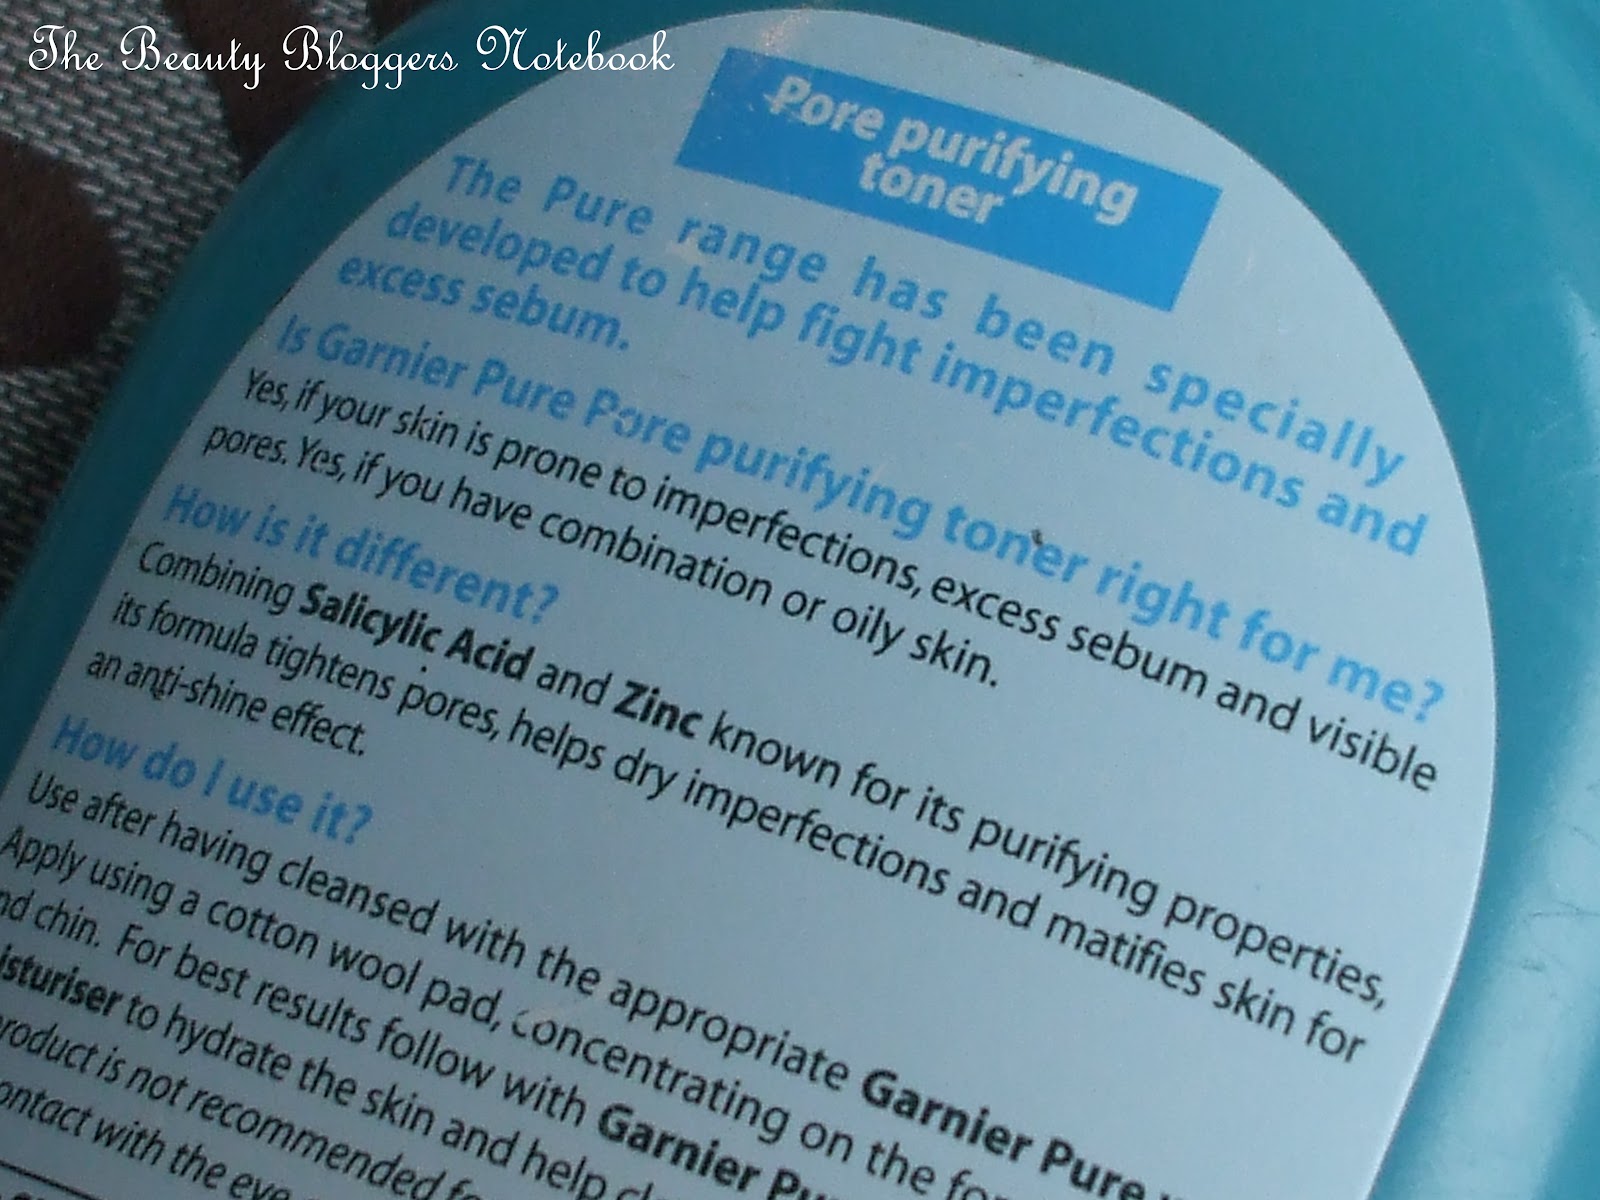
Garnier Pure Pore Purifying Toner
This stuff is AMAZING at clearing up any break outs. Its an astringent, so it is a bit stingy, but believe me its worth it. You do have to be careful not to take this too close to your eyes, as it does make them water. I apply this a couple of times a day when I have a bad breakout and my spots are visibly smaller and less red by the next day!

              Price: £3.74, and you can get it here.


I hope you found this helpful and feel free to ask any questions! :)